How to Choose and Use LEGO Compatible Base Plates for Custom Builds
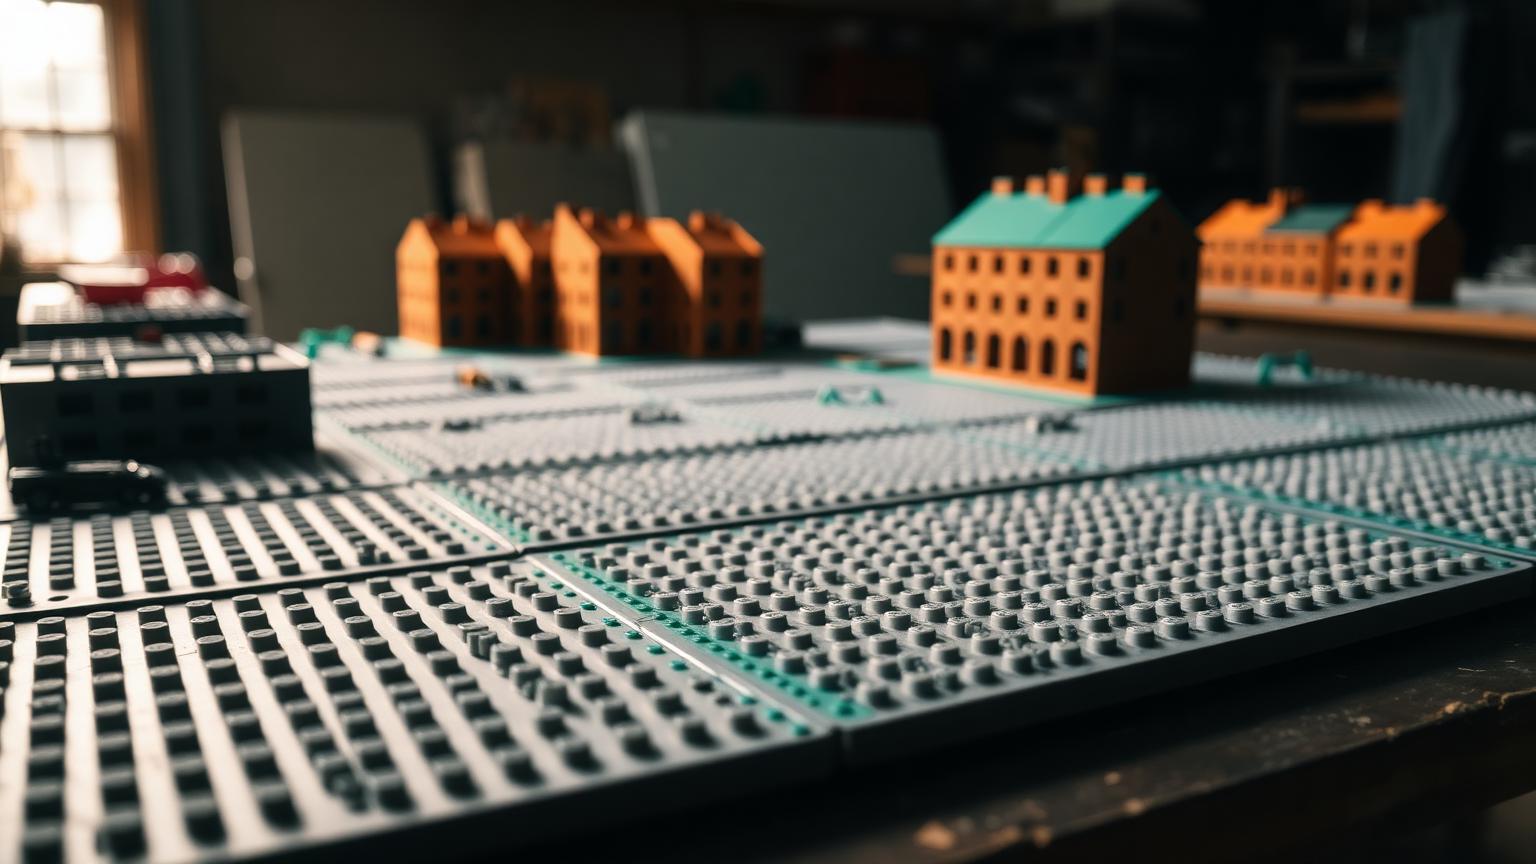
Every great brick build starts with the ground beneath it. A wobbly, warped or wrongly sized base can ruin months of work on a diorama or modular city. Yet base plates are the piece most builders think about last, if they think about them at all.
This guide fixes that. You will learn how to read stud counts and sizes, when to pick raised surfaces over flat ones, and how to plan large layouts that stay stable for years. We will also cover how to combine multiple plates without visible seams, avoid warping, and finish your build for display.
Understanding Base Plate Sizes and Stud Counts
Lego compatible base plates are the foundation panels your entire model sits on. Before you buy, you need to speak the language of sizing. Base plates are measured in studs, the small bumps that grip your bricks.
- 16x16 studs — small vignettes, single scenes or a starter build.
- 32x32 studs — the classic all-purpose size, roughly 10 x 10 inches (25 x 25 cm).
- 48x48 studs — large single scenes, cityscapes or landscape sections.
- Modular strips (8x16) — connectors and edge pieces for expanding layouts.
A quick rule: measure your available display space first, then work backward. A 48x48 plate needs real estate. Four 32x32 plates give you the same area with more flexibility.
Surface type matters as much as size. Flat base plates are thin with a smooth underside — they cannot be built onto from below, which suits locked-in scenes. Raised base plates are thicker, often with connection points underneath, so you can build in both directions and clip plates together for stability. For most complex builds, raised plates win. If you are still choosing brands, start with our guide to the best compatible brands.
Choosing the Right Base for Your Build Type
The base you need depends entirely on what you are building. A collector's diorama and a modular city have very different foundation demands.
- Dioramas. Choose a single large plate when possible — one 48x48 plate under a landscape scene means no seams to break the illusion. Match the colour to the scene: grey reads as urban concrete, green becomes a forest floor before you place a single brick.
- Modular builds. Standardisation is everything. Pick matching dimensions (32x32 is the community favourite) so any section connects to any other, and prefer raised plates with under-connections so your city does not drift apart when you move it.
- Custom creators. Treat the base as raw material. Mix sizes, cut layouts into zones and use edge strips to bridge irregular shapes.
To compare plate types and match colours across a full range before committing, browse the current base plate and brick catalog and check the stud dimensions listed for each option.
Planning Large Layouts Before You Build
Big layouts fail without planning. The most common regret in the hobby is a sprawling build that no longer fits the table or will not come apart to move.
- Map your grid on paper. Sketch the layout to scale on graph paper, marking where each plate sits and which sections must detach for transport.
- Calculate total stud area. A 4x4 grid of 32x32 plates gives a 128x128 stud surface — knowing the number keeps budget and space realistic.
- Plan for access and movement. Design in sections that lift out individually, and leave joins hidden under roads or walls.
- Label the underside of each plate with its grid position so reassembly after a move takes minutes.
How to Combine Multiple Base Plates Seamlessly
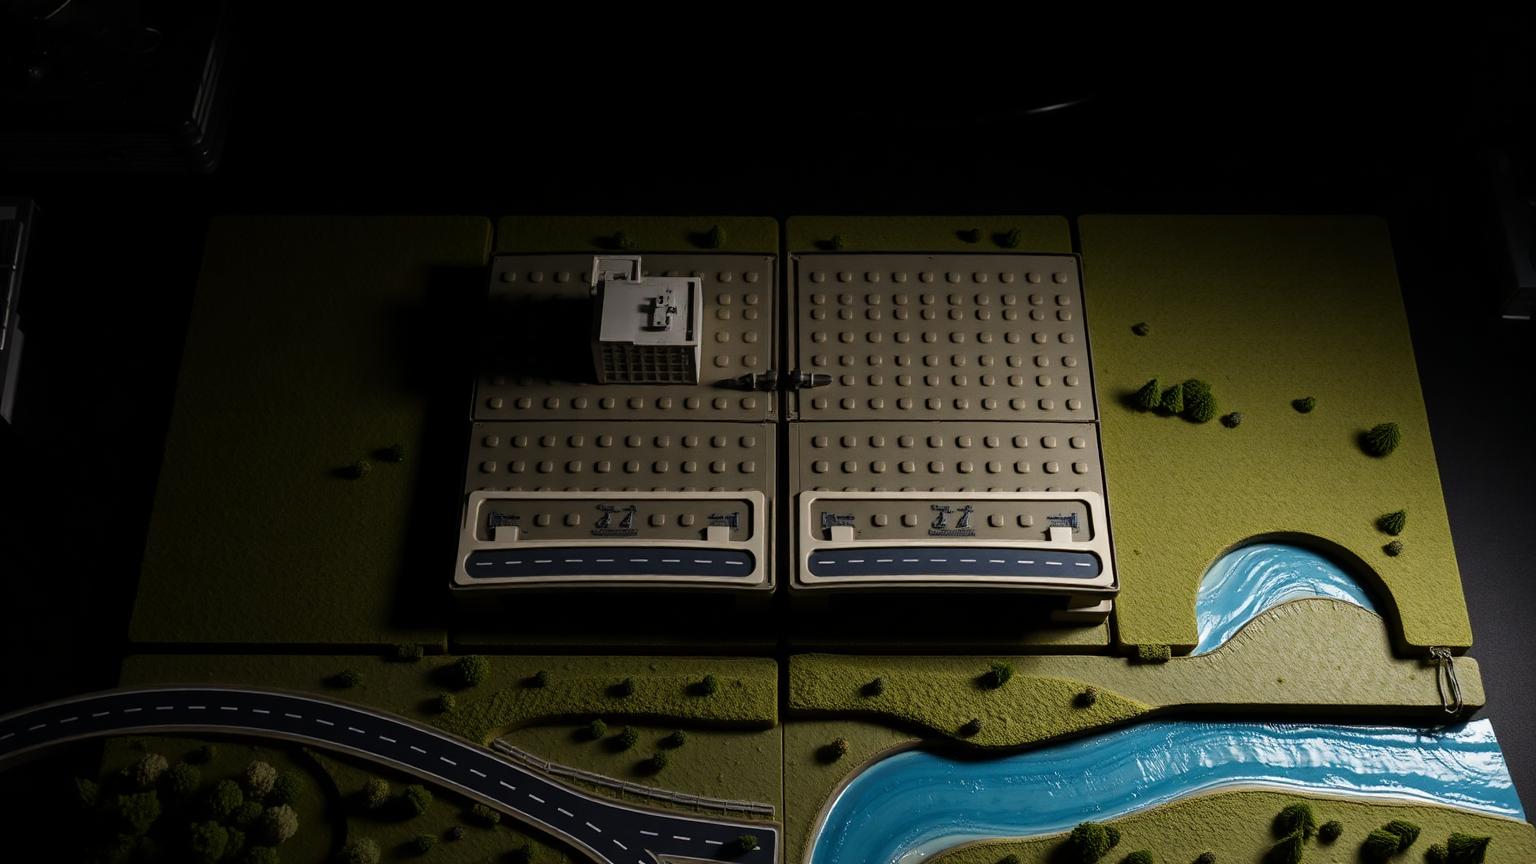
- Bridge the seams. Plates do not connect edge-to-edge on their own. Lay long plates (2x8 or 2x16) across the joint — underneath if raised, on top disguised as roads if flat.
- Hide seams in the design. Run a road, river, wall or hedge over the joint so the eye follows the feature, not the gap.
- Keep connections consistent. Mixing raised and flat plates in one layout creates height differences that ruin a flat surface. Choose one type per project.
For step-by-step techniques on advanced seam-hiding and grid construction, the Morebybourn article library collects build breakdowns from experienced creators who document their layout methods in detail.
Fixing Stability and Warping Problems
Warping is the enemy of every large base build. A plate that curls at the edges lifts your model and stresses every connection. It happens for a few clear reasons: cheap material, heat and sunlight, uneven support, and weight imbalance.
- Choose quality material. ABS plastic holds its shape far better than cheaper alternatives.
- Support the full surface. Never let a large plate overhang a table edge.
- Keep it out of direct sun. Display away from windows or use UV-filtering glass.
- Distribute weight evenly rather than clustering heavy structures on one side.
A mild warp is often recoverable: lay the plate flat, place a gentle even weight across it and leave it several days at room temperature. For diagnosing persistent warping or material questions on specific plates, our support page walks through compatibility notes and care guidance.
Display Tips That Protect Your Work
- Elevate and frame the base. Mount the layout on a rigid MDF or acrylic board slightly larger than the plates — it prevents overhang warping and makes the piece portable.
- Control light. Bright indirect light shows detail; direct sunlight fades colours and warps plates.
- Beat the dust. A display case protects intricate builds from a diorama's slow enemy.
- Keep temperature stable. Attics and garages swing too far.
- Photograph and share. A finished layout on quality lego compatible base plates photographs cleanly, and documenting your grid helps others planning their first large build.
Bringing It All Together
Match size and stud count to your space. Choose raised plates for flexible, stable builds and flat plates for locked-in scenes. Plan large layouts on paper, combine plates with overlapping bridges, and design seams into your scenery. Protect the result with ABS material, full support and smart display choices. More foundation ideas live in the Lego Compatible Bricks hub and our collection-building guide.
Frequently Asked Questions
Are LEGO compatible base plates the same size as official brick base plates?
Yes. Quality lego compatible base plates follow the industry-standard stud grid and spacing (roughly 4.8mm per stud), so they match official sizes like 16x16, 32x32 and 48x48. This means they connect seamlessly with mainstream bricks and other compatible plates. Always confirm the stud dimensions listed for a plate before ordering, especially when mixing plates into an existing layout.
Should I choose raised or flat base plates for a modular city?
For modular builds, raised base plates are usually the better choice. They are thicker, resist flexing, and often include connection points underneath that let you clip adjacent sections together. This keeps your city from drifting apart when you move it. Flat plates suit fixed dioramas where the base stays permanently assembled and never needs to detach.
How do I connect multiple base plates without visible gaps?
Base plates do not lock edge-to-edge on their own. Bridge the seam by laying bricks or long plates across the joint, spanning both surfaces to lock them together. Then hide the seam in your design by running a road, river or wall directly over it. The eye follows the scenery feature rather than the gap beneath it.
Why do base plates warp, and how can I prevent it?
Warping comes from cheap material, direct sunlight, uneven support or unbalanced weight. Prevent it by choosing ABS plastic plates, resting the full surface on a flat, solid base with no overhang, keeping displays out of direct sun, and distributing heavy structures evenly. A mild warp can sometimes be corrected by weighting the plate flat for several days at room temperature.
What size base plate is best for a first large build?
The 32x32 stud plate is the community favourite for its versatility. Combining four of them gives you a large 64x64 surface while keeping each section movable for transport and storage. This modular approach beats a single oversized plate for flexibility, and it lets your layout grow over time as you add more matching sections.
Order LEGO-Compatible Sets from Morebybourn
We sell LEGO alternative sets, bricks and base plates built to the same universal standard. If you would like help choosing the right plate sizes and surfaces for your layout, simply contact our customer service team and we will place the order for you.