How to Customize and Mix Minifigures for Unique Diorama Characters
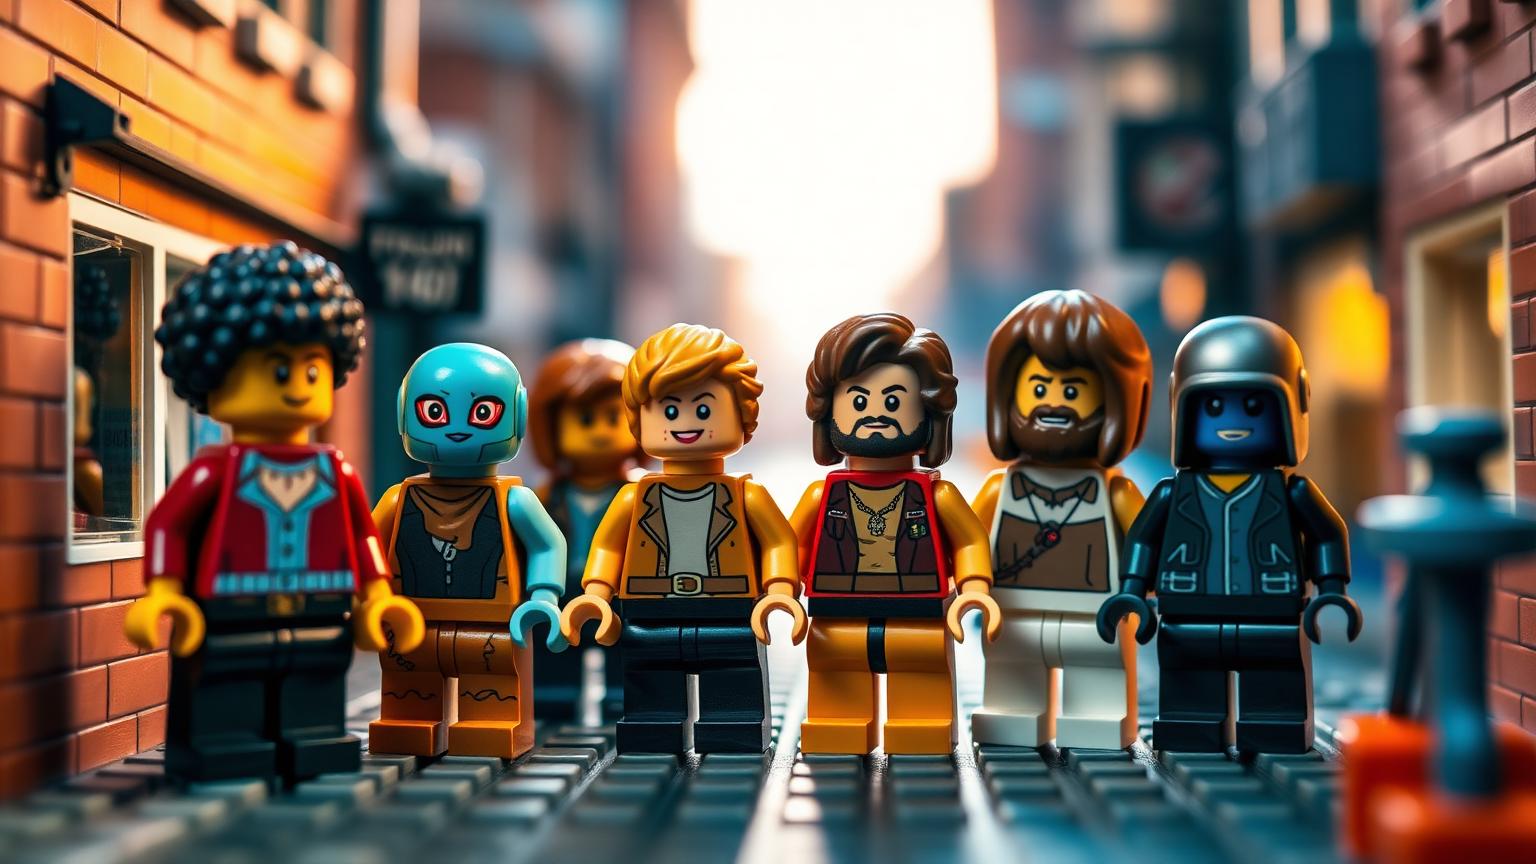
A great diorama lives or dies on its characters. You can build the most detailed frontier town in the world, but if it is populated by generic, identical figures the scene falls flat. The fix is simple: learn to customize your own minifigures — mix parts, swap accessories, and build characters nobody else has.
Working with lego compatible minifigures opens the door to affordable experimentation. You can build a deep parts bin, try wild combinations, and rebuild without worrying about ruining a rare, expensive figure.
Why Custom Minifigures Matter for Your Scene
Characters give a diorama its story. A single figure mid-action — a mechanic reaching for a wrench, a knight bracing against a gate — tells viewers what is happening far better than a static background. Off-the-shelf figures limit you to factory combinations; customizing breaks that ceiling and lets you control the exact look, pose and role of every character. Building the scene around them starts with a deep parts supply, covered in our guide to growing a mixed brick collection.
Step 1: Understand the Anatomy of a Minifigure
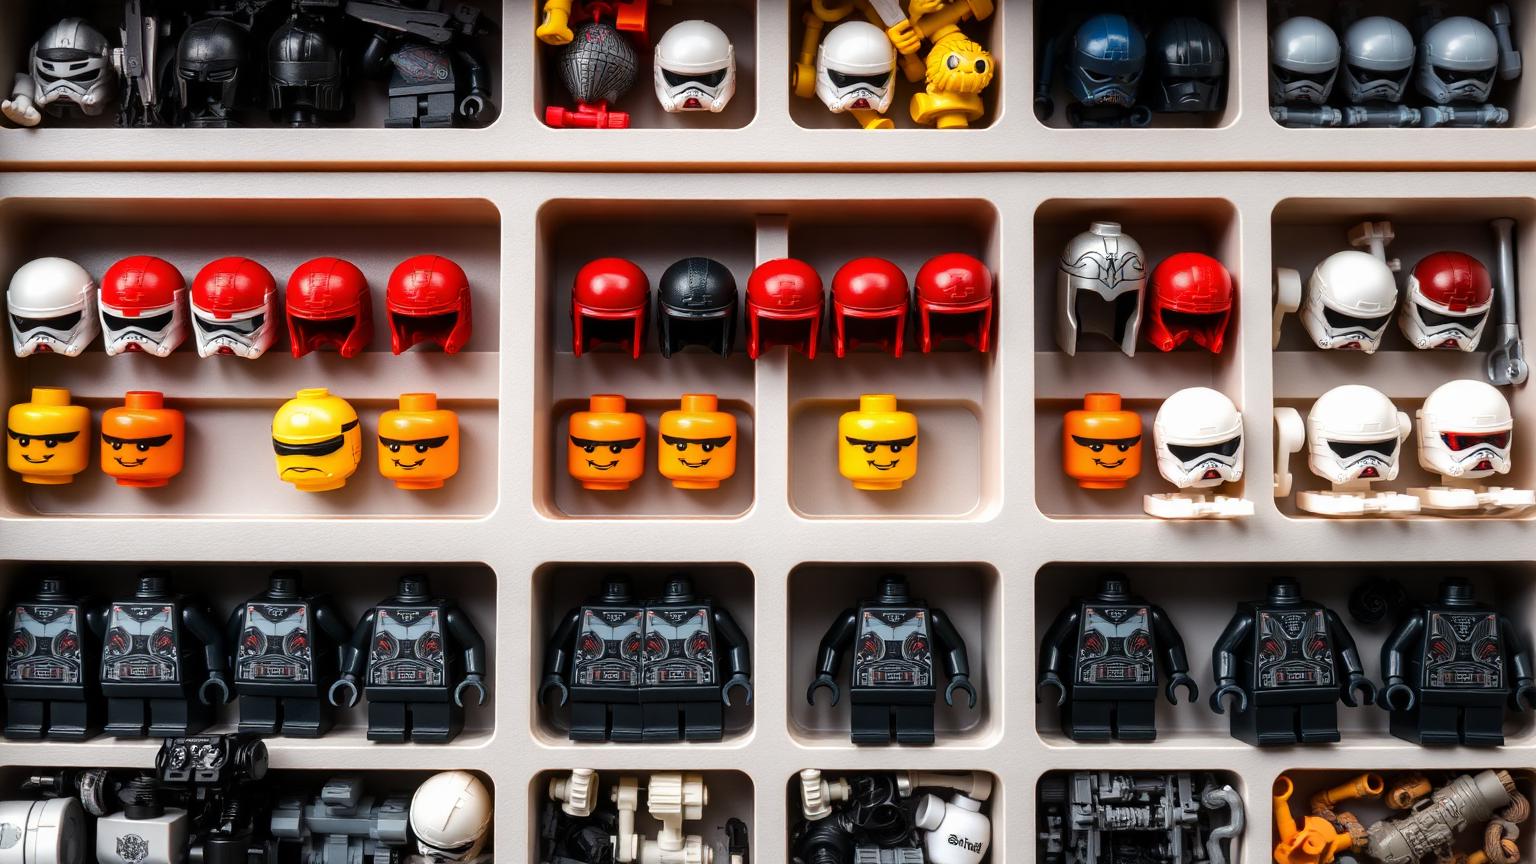
- Head — sits on the neck stud and carries the face print.
- Hair or headgear — hats, helmets and wigs that clip onto the head stud.
- Torso — the body core, including swappable arms and hands.
- Legs and hips — the lower assembly, printed or plain.
- Accessories — tools, weapons, bags, capes and backpacks.
Step 2: Choose Your Heads for Expression and Role
The head sets the mood. A determined frown suits a soldier; a soot-smudged face reads instantly as a mechanic. Many quality lego compatible minifigures feature dual-sided prints, so you can rotate from calm to alarmed for the exact camera angle. Stock a range of skin tones, ages and details — beards, glasses, freckles, scars — because a believable crowd needs variety. Keep heads face-up in a divided tray so you can scan expressions at a glance.
Step 3: Select Torsos That Define the Character
- Front and back printing — detail that continues around the figure looks far more finished in photos.
- Arm colour matching — mismatched arms look accidental unless you intend the contrast.
- Layered clothing detail — collars, belts and folds add realism and depth.
- Deliberate era mixing — intentional contrast reads as design; accidental contrast reads as a mistake.
Browse printed torsos, heads and accessory parts in the Morebybourn product range to build out your customization bin.
Step 4: Pick Legs for Pose and Movement
Printed legs add boots, knee pads and uniform stripes; plain legs are versatile and cheap for background figures. Standard legs bend at the hip so figures can sit, kneel or lean — a figure caught mid-stride sells action far better than one standing straight. Coordinate leg colour with the torso for a unified look, or contrast deliberately for layered clothing.
Step 5: Add Accessories to Tell the Story
- Tools — wrenches, hammers and magnifying glasses for tradespeople and inventors.
- Weapons — swords, blasters and bows for action scenes.
- Bags and containers — backpacks, satchels, barrels and crates for travellers and merchants.
- Headgear — helmets, hats, hoods and crowns to signal role and rank.
- Capes and cloth — fabric elements add movement and drama.
Step 6: Explore Printing and Decal Options
- Factory-printed parts. Buy components already printed in the theme you need.
- Water-slide decals. Design artwork to size, print on decal paper, seal with clear coat, soak, slide on and cure fully.
- Custom print services. Third-party UV printing gives crisp, hard-wearing results on blank parts.
- Care. Keep display figures out of direct sunlight so prints do not fade.
Step 7: Assemble, Pose and Stage Your Cast
- Build in batches so you balance heroes, bystanders and props across the scene.
- Turn heads slightly toward the action rather than staring straight ahead.
- Bend legs and angle arms to create stride, kneel and pointing poses.
- Layer depth with detailed figures in front and plainer ones behind.
- Create relationships — figures reacting to each other turn a crowd into a story.
Bringing It All Together
Customizing minifigures is equal parts engineering and storytelling. Start small: build one custom character for your next diorama — a head, a torso, legs and a single telling accessory. Pose it, place it, and see how much life it adds. More guides live in the Lego Compatible Bricks hub and the Morebybourn article hub.
Frequently Asked Questions
Are lego compatible minifigures interchangeable with standard figures?
In most cases, yes. Quality lego compatible minifigures are built on the same modular connection system, so heads, torsos, arms, legs and accessories swap freely with standard parts. Check the maker's compatibility notes before buying specialty pieces, and confirm parts click cleanly without heavy force.
What's the best way to start a minifigure customization collection?
Begin with a core parts bin: several heads with varied expressions and tones, printed torsos covering common roles, a mix of printed and plain legs, and a small set of accessories like tools, bags and headgear. Sort each type into a divided tray so you can scan options while building.
How do I add custom designs to a plain minifigure?
You have three options. Factory-printed parts are easiest — buy components already printed in the design you want. Water-slide decals let you apply custom artwork to blank parts using decal paper, a clear sealant and a brief water soak. For the most durable results, third-party UV-print services apply designs directly to blank figures.
How do I keep custom prints and decals from wearing off?
Handle finished figures gently, seal water-slide decals with a clear coat before display, and keep figures out of direct sunlight to prevent fading. For figures you handle often, professional UV printing offers the most hard-wearing finish. Reserve delicate custom work for protected display cases.
Can kids and beginners customize minifigures, or is it an advanced hobby?
Beginners of all ages can start right away. Mixing heads, torsos, legs and accessories requires no special tools — parts simply click together, making it a perfect hands-on, screen-free activity for families. Start with simple part-swapping, then introduce decals or print services as skills grow.
Order LEGO-Compatible Sets from Morebybourn
We sell LEGO alternative sets and compatible bricks built to the same universal standard. If you would like help choosing figures, parts or sets for your next diorama, simply contact our customer service team and we will place the order for you.