How to Build Themed Projects With Building Blocks Toys: Houses, Scenes, Movies, and Mosaics
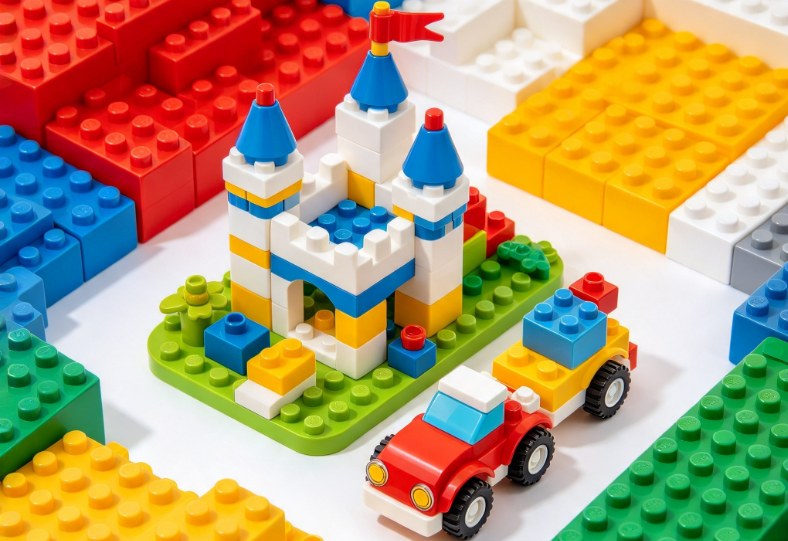
A finished set ends up on the shelf. A themed project goes somewhere new.
This guide skips the box art and covers four project types you plan and build yourself:
- 🏠 A model of your own home
- 🌲 A storytelling diorama
- 🎬 A stop-motion movie
- 🖼️ A brick mosaic
Each one includes a parts estimate, a time estimate, and a step-by-step plan. Every project works with standard building blocks toys from any stud-compatible brand. Some suit a solo evening. Others suit a family weekend. All of them leave you with something no one else owns.
Pick Your Project First
Start with the result you want, then choose the project type.
| Project | Parts Needed | Build Time | Skill Level | Best For |
| ------------------------ | ------------------------ | ------------------------ | -------------- | ------------------------------------ |
| Your Home in Bricks | 400–1,500 | 6–15 hours | Medium | Adults, collectors, family gifts |
| Storytelling Diorama | 300–800 | 3–8 hours | Easy to Medium | Kids 8+, creators |
| Stop-Motion Movie | 100–400, plus a phone | 2–5 hours for 30 seconds | Easy | Families, kids 8–14 |
| Brick Mosaic | 1,000–2,500 small pieces | 4–10 hours | Easy | Adults who want to relax, home decor |
QUICK RULE: First project? Pick the one you can finish in two weekends. A finished small project beats an unfinished big one.
---
Step 1: Choose a Scale Before You Snap a Single Piece
Scale decides everything else, including parts count, cost, and shelf space. Most people skip this step. That's why many first projects stall halfway.
Here are the basic measurements every builder should know. They work across most stud-compatible construction blocks:
- One stud = 8 mm wide
- One standard brick = 9.6 mm tall
- One plate = 3.2 mm tall (three plates stack to one brick)
Now pick one of three common scales:
| Scale | Rule of Thumb | A Two-Story House Is About... | Use It For |
| -------------------- | ----------------------------- | ----------------------------- | -------------------------------------------- |
| Microscale | 1 stud ≈ 1–2 meters | 6–10 studs wide | Whole streets, landmarks, small shelf pieces |
| Minifigure scale | 1 stud ≈ 30 cm (about 1 foot) | 32–48 studs wide | Dioramas, movies, play-ready houses |
| Large scale | 1 stud ≈ 5–10 cm | Too big for most homes | Single objects: a camera, a guitar, a chair |
A minifigure stands about 4 cm tall. That puts minifigure scale near 1:40. Builders usually squeeze buildings a little narrower than true scale so they fit on a base plate. Nobody notices. Everyone notices if the door is too short for the figure, so measure doors carefully.
PRO TIP: Write your scale on a sticky note and stick it to your build table. You'll check it more than you expect.
---
Project 1: Build Your Own Home in Bricks
This is the most personal project on the list. It makes a strong housewarming gift, a keepsake when a family moves, or a display piece for collectors who like real-world architecture.
What You Need
- Photos of the house from the front, back, and both sides
- Graph paper (one square = one stud)
- A tape measure
- 400 to 1,500 parts, depending on scale and whether you build the full house or just the front
Step-by-Step
1. Count, don't measure, first.
Count windows across the front. Count floors. Note the roof shape. These numbers matter more than exact meters. If your house has five windows across the front, your model needs five windows across the front. Getting that right makes it look like *your* house.
2. Size the door.
At minifigure scale, a standard door piece is 4 studs wide and 6 bricks tall. Use that as your measuring stick. A real ground floor is usually about 1.5 door heights tall, so plan 8 to 9 bricks per floor.
3. Sketch the footprint.
Draw the outline on graph paper. Mark windows, doors, and corners. Round odd measurements to the nearest even stud number. Even numbers center more easily.
4. Decide: full house or front only.
A facade build shows only the front wall, about 4 to 6 studs deep. It uses roughly half the parts and fits on a bookshelf. Full builds look great from every angle but need much more space and budget. For a first project, build the facade.
5. Match colors with mixing, not one shade.
Real brick, stone, and wood are never one flat color. Mix two or three close shades in the same wall. For red brick, mix dark red and reddish brown. For gray stone, mix light gray and dark gray. This is called "color dithering," and it's the fastest way to make a model look real.
6. Add the three details people recognize.
Pick the three things that make the house *yours*. A red front door. A tree in the yard. A bike on the porch. People recognize a place by small details, not perfect proportions.
Roofs Without Frustration
Roofs stop more home builds than anything else. Two easy fixes:
- Stepped roof: Stack bricks in shrinking layers. It looks blocky up close and right from a distance.
- Slope pieces: Use 45-degree slopes for steep roofs and 33-degree slopes for gentle ones. Buy more than you think. Roofs eat slopes.
Need slopes, doors, and window pieces in bulk? Browse building sets and parts at Morebybourn and start with a set that already includes the roof and window parts you need.
---
Project 2: Build a Storytelling Diorama
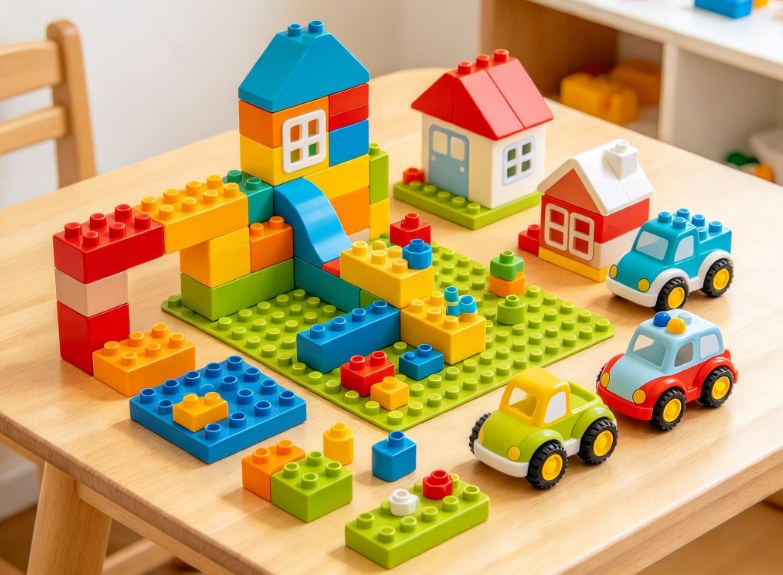
A diorama is a scene frozen at one moment. A shopkeeper chasing a thief. A dragon landing in a village square. Astronauts finding something strange on the moon.
Building block toys are great for this because figures, animals, and small props are already part of the system. You just need a plan.
The One-Moment Rule
Don't build a whole story. Build one second of it.
Ask: *What just happened, and what's about to happen?* A great diorama answers both. A cat knocks a vase off a shelf. The vase is still in the air. The owner is opening the door. Anyone who looks at it fills in the rest.
The Three-Layer Layout
Plan your base in three depth layers:
| Layer | What Goes Here | Why |
| ---------- | ---------------------------------------------------- | ---------------------------------------------- |
| Front | Small details: flowers, rocks, tools, a dropped item | Draws the eye in |
| Middle | The action: figures, vehicles, the main moment | Tells the story |
| Back | A wall, a cliff, a building face, trees | Frames the scene and blocks the room behind it |
A 16x32 or 32x32 base plate works for most first dioramas.
Make the Ground Interesting
Flat ground looks like a tabletop. Raise parts of the base with a few layers of plates. Add a path, a step, a slope, or a stream. Even a height change of two plates makes a scene feel real.
Hide Three Clues
Good dioramas reward a second look. Hide three small story clues:
- Footprints leading off the edge
- A note on a table
- A figure watching from a window
Kids love this part. Ask them to hide a clue, then challenge another family member to find it.
For Families
Let each child own one layer. One builds the front details, one builds the action, an adult builds the backdrop. Join them at the end. Every builder gets credit, and the scene comes together in one afternoon.
---
Project 3: Make a Stop-Motion Movie
Fans call these "brickfilms." All you need is a phone, a free stop-motion app, and a handful of figures. This project mixes building, storytelling, and simple film skills. Kids 8 and up can run most of it on their own.
The Math Before You Start
Most brickfilms run at 12 frames per second. That means:
- 1 second of film = 12 photos
- 10 seconds = 120 photos
- 30 seconds = 360 photos
A 30-second film is a solid first goal. Plan on two to five hours of shooting.
Set Up for Steady Shots
Shaky footage ruins stop-motion. Lock everything down:
- Tape the base plate to the table with painter's tape.
- Fix the phone in place. Use a small tripod, or tape it to a stack of books.
- Lock focus and exposure. On most phones, press and hold on the screen until a lock symbol appears.
- Use lamp light, not window light. Daylight changes as clouds move. Your movie will flicker. Close the curtains and use one or two desk lamps.
Move Small
Move each figure 1 to 2 mm per photo for smooth walking. Bigger moves look jumpy. For a figure walking across a 32-stud base, that's roughly 100 photos.
Write a Three-Shot Plan
Skip the long script. Plan three shots:
- Shot 1: Show where we are. A wide view of the set.
- Shot 2: Something happens. A car arrives, a door opens, a figure trips.
- Shot 3: The reaction. A figure turns, jumps, or runs.
Three shots make a complete mini-story. Add sound effects in the app at the end. Kids usually record these themselves, and that's half the fun.
Build Sets for the Camera
Movie sets don't need a back side. Build only what the camera sees. Leave the top open so hands can reach in to move figures. This saves parts and time.
🎬 SHARE IT: Online building communities run regular brickfilm challenges. Post your first film, ask for one tip, and use it on the next one.
---
Project 4: Build a Brick Mosaic
A mosaic turns a photo or design into a flat picture made of small round or square pieces. It's slow, simple, and repetitive in a good way. Many adult builders use mosaics to switch off after a long day of screens and meetings.
What You Need
- A large base plate. A 48x48 plate is a popular size, about 38 cm square.
- 1x1 round plates or 1x1 tiles in your chosen colors
- A simple image: a pet, a logo, a pixel-art character, a sunset
Step-by-Step
1. Count your pieces.
A 48x48 mosaic needs 2,304 pieces. One per stud. Buy about 5% extra for drops and lost pieces under the couch.
2. Shrink the image.
Use any free pixel-art or photo editing tool. Resize your image to 48 x 48 pixels. Then reduce the colors to between 6 and 10. Fewer colors mean easier sorting and a cleaner result.
3. Print a grid.
Print the pixelated image large, with grid lines. Mark every 8th row and column with a thicker line. Those match the natural sections of the base plate and help you keep your place.
4. Sort before you build.
Pour each color into its own small bowl or tray. Sorting takes 20 to 30 minutes. It saves hours later.
5. Build row by row.
Start at the top left. Work across, one row at a time. Check off finished rows on your printout. Stop mid-row if you need to. Pick up exactly where you left off.
Tiles vs. Round Plates
| Piece Type | Look | Best For |
| -------------------- | -------------------------------------- | -------------------------------- |
| 1x1 square tiles | Smooth, flat, like a printed image | Logos, pixel art, clean graphics |
| 1x1 round plates | Dotted, textured, like pointillist art | Portraits, pets, landscapes |
PRO TIP: Hang finished mosaics with picture-hanging strips on the back of the base plate. They make great wall art for a home office or game room.
Find bright, consistent colors for mosaic and detail work at Morebybourn. Check the color range before you lock in your palette.
---
Step 2: Gather Parts the Smart Way
Every project above needs a parts plan. Three ways to source parts, ranked by cost:
- Use what you own. Pull from finished sets. Sort the parts you need into a project tray. Build with those first.
- Buy a donor set. Pick an official set rich in the part you need most, like a set with many windows for a house build or many figures for a diorama. You get instructions to build it once, then a parts library for later.
- Buy in bulk. For mosaics and big walls, bulk packs of single parts cost less per piece.
Make a Parts List Before You Buy
Write down every part type and how many you need. Add 10%. That buffer covers mistakes, design changes, and the one piece the cat steals.
Watch the Buying Windows
Plan bigger part purchases around holiday sales, birthdays, and new releases. LIMITED and EXCLUSIVE sets often include unusual parts and colors that are hard to find later. If one fits your project, grab it while stock lasts.
---
Step 3: Finish, Photograph, and Share
A themed build isn't done until someone else sees it. Sharing gets feedback, ideas, and motivation for the next project.
Clean Before You Shoot
Check for gaps, crooked pieces, and dust. A soft makeup brush removes dust from tight spots. Press every piece down firmly one more time.
Shoot Like a Builder
- Use a plain backdrop. A sheet of white or gray poster board works well.
- Shoot at figure eye level. Get low. A shot from the figure's height makes a diorama feel like a real place.
- Use soft light. Two lamps on either side reduce harsh shadows.
- Take three shots: one wide, one medium, one close-up of your best detail.
Post With a Story
Don't just post "My build." Give it a title and one line of context. "The night the dragon came to the bakery." Mention your scale and part count. Builders love those numbers, and they spark conversations.
Ask One Specific Question
"Any feedback?" gets silence. "How would you make the roof look older?" gets real answers. Specific questions start real conversations in building communities.
🏆 NEXT LEVEL: Enter an online theme contest. A deadline and a theme push you to build things you'd never plan on your own.
---
Common Snags and Quick Fixes
| Problem | Why It Happens | Fix |
| ---------------------------------- | --------------------------- | ---------------------------------------------------- |
| Walls look flat and fake | Single color, no texture | Mix 2–3 close shades; add a few tile or slope pieces |
| Build feels too big to finish | Scale too large | Switch to a facade build or microscale |
| Figures look too tall for the room | Floors too short | Use 8–9 bricks per floor at minifigure scale |
| Stop-motion footage flickers | Changing daylight | Close curtains, use lamps, lock exposure |
| Mosaic image looks muddy | Too many colors | Cut the palette to 6–10 colors |
| Diorama looks empty | Action only in the middle | Add front-layer details and a backdrop |
| Running out of one part | No buffer in the parts list | Add 10% to every part count |
---
A Note on Safety
Standard-size construction blocks contain small parts. Keep project tables and part trays away from children under 3. Mosaic projects use thousands of 1x1 pieces, so work at a desk or table, not on the floor. Sweep the area after every session.
---
Build Something That's Yours
Themed projects take building blocks toys past the box. Pick a project you can finish. Choose a scale first. Plan your parts with a 10% buffer. Then build your house, freeze a story, film a scene, or turn a photo into wall art.
Every project teaches a new skill: proportion, composition, timing, or patience. Every finished build gives you something no one else on the shelf has.
Frequently Asked Questions
What are the easiest themed projects for beginners using building block toys?
A small diorama or a short stop-motion film is the easiest place to start. Both need fewer than 400 parts and can be finished in a single afternoon. Building block toys you already own usually cover most of what you need. Add a base plate and a few figures, and you're ready.
How many pieces do I need to build my house in bricks?
A front-only facade at minifigure scale usually takes 400 to 700 pieces. A full house with all four walls and a roof often needs 1,000 to 1,500 or more. Microscale versions can use under 200 pieces. Start with a facade if this is your first architecture build.
Can kids make stop-motion movies with construction blocks?
Yes. Kids around 8 and up can handle most of the process with a phone and a free stop-motion app. Adults help with setup: taping the base plate, fixing the phone in place, and locking the camera exposure. A 30-second film takes about 360 photos at 12 frames per second, which fits two or three short sessions.
What size base plate is best for a brick mosaic?
A 48x48 base plate is the most popular choice. It's large enough for detailed images like pets or portraits and small enough to hang on a wall. It needs 2,304 1x1 pieces. For a faster first mosaic, try a 32x32 plate, which needs 1,024 pieces.
Do I need special parts for themed builds?
Not usually. Most themed builds use standard bricks, plates, slopes, and tiles. A few specific parts help a lot, though: door and window frames for houses, figures and props for dioramas, and 1x1 tiles or round plates for mosaics. Make a parts list before you start, and check your existing collection before buying anything new.
Keep Exploring
Pair this guide with How to Use Construction Toys to Teach STEM and Real-World Skills (Ages 6–12), compare brands in our compatible bricks comparison guide, and browse more picks in Best Lego Alternatives.
Order LEGO Alternatives From Morebybourn
We sell LEGO alternative sets for kids, families, and adult builders. Want to order? Browse our available sets, contact our customer service team, or message us on WhatsApp and we'll help you place your order.
Order LEGO-Compatible Sets from Morebybourn
We sell LEGO alternative sets and compatible bricks for families, hobbyists, and collectors. Contact our customer service team for personal recommendations and help placing your order.