How to Build Smart, System-Level Compatible Sets Across COBI, Mega, and More
TL;DR
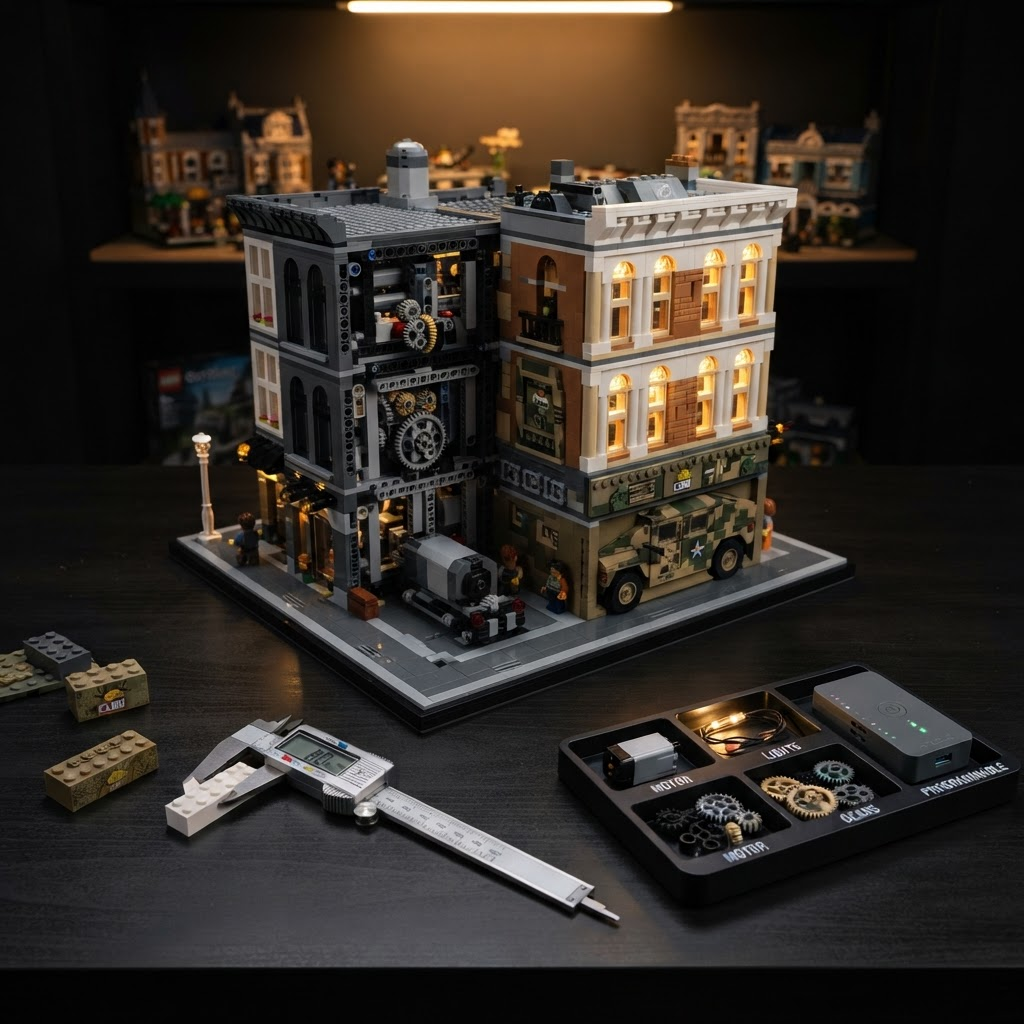
Lego system compatible smart play works when bricks share the 8mm stud standard and smart components use open connectors. COBI lego compatible bricks connect reliably and clutch tighter near motors. Mega Construx (not older Mega Bloks) integrates cleanly. Plan the mechanism first, assign each brand a role, map the power path, and test at every stage before sealing.
Smart play changes what a brick set can do — it is no longer just about stacking pieces. It is about building sets that teach, move, light up, and connect across brands into one working system. When you plan for lego system compatible smart play, you unlock builds that grow with your skills and pull the best features from every major maker into a single project. This guide takes a system-level view across six steps: evaluate smart features, compare brand systems, plan a multi-brand build, assemble for stability, maximize educational value, and push creative display value.
What "Smart Play" Actually Means
Smart play is a loose term, so pin it down before you buy. It covers any feature that adds function beyond static assembly. A true lego system compatible smart play approach means these features work across brands, not just inside one box.
Motion
Gears, axles, and motors that make wheels turn, arms lift, or doors open.
Light & Sound
Add-on bricks that light interiors or trigger audio effects.
Modularity
Sections that detach and reconnect so one set becomes many configurations.
Programmable
App-linked or sensor-driven parts that respond to input.
Educational Structure
Guided builds that teach physics, sequencing, or engineering as you go.
Cross-Brand Integration
Smart components that drop into any mixed collection using standard connectors.
The goal is a system where a motor from one maker drives a chassis from another, and a light kit fits any interior you build. Morebybourn builds sets to the shared stud-and-tube standard so smart components drop into mixed collections cleanly. See the full range at Morebybourn.
Step 1: Evaluate Smart Play Features Before You Buy
Not every "smart" feature earns its price. Evaluate function against your goal before you spend. A light kit that stays useful is one you can move between builds. A single-purpose gimmick is dead weight once the model comes apart.
Smart feature evaluation checklist
- +Standard connection points (stud, axle, pin)
- +Reusable across multiple builds
- +Power source is common, rechargeable, or swappable
- +Complexity matches the builder's level
- +Instructions explain the mechanism, not just the steps
Function first. A feature that teaches or reconfigures beats one that only flashes once. Check for open connection points — smart features that use standard studs, axles, and Technic-style pin holes integrate anywhere. Proprietary connectors lock you in.
Step 2: Compare Brand Systems Side by Side
Every major brick maker built a system, not just a product line. The question cobi lego compatible comes up constantly, and so does are mega and lego compatible. Understanding each system's strengths lets you pull the right parts from the right place.
COBI
PassCompatible for standard bricks
- ›Follows same stud-and-tube standard
- ›Studs clutch slightly tighter — great near motors
- ›Specialty printed parts are brand-specific
- ›Best role: detail and structural stress points
Mega Construx
Pass (Construx)Compatible — Construx line only
- ›Standard Mega Construx bricks connect reliably
- ›Older Mega Bloks and toddler blocks do NOT fit
- ›Strong on licensed figures and large sets
- ›Best role: figures, accessories, large structurals
Technic-Style Systems
Motion LayerCompatible for motion backbone
- ›Axles, pins, and beams provide motion backbone
- ›Motors, gears, and steering live here
- ›Any brand following the pin standard integrates
- ›Best role: mechanism and drivetrain
Standard-Brick Makers
Core StructureCompatible across the board
- ›Built to 8mm stud standard for clean integration
- ›Fill gaps with structure, color variety, and smart add-ons
- ›Wide part range for walls, floors, and frames
- ›Best role: structural shell and color palette
| Need | Best System Source |
|---|---|
| Fine detail and printed parts | COBI |
| Licensed figures and large sets | Mega Construx |
| Motion, gears, motors | Technic-style parts |
| Structure and color range | Standard-brick makers |
| Smart add-ons and lighting | Modular light/motor kits |
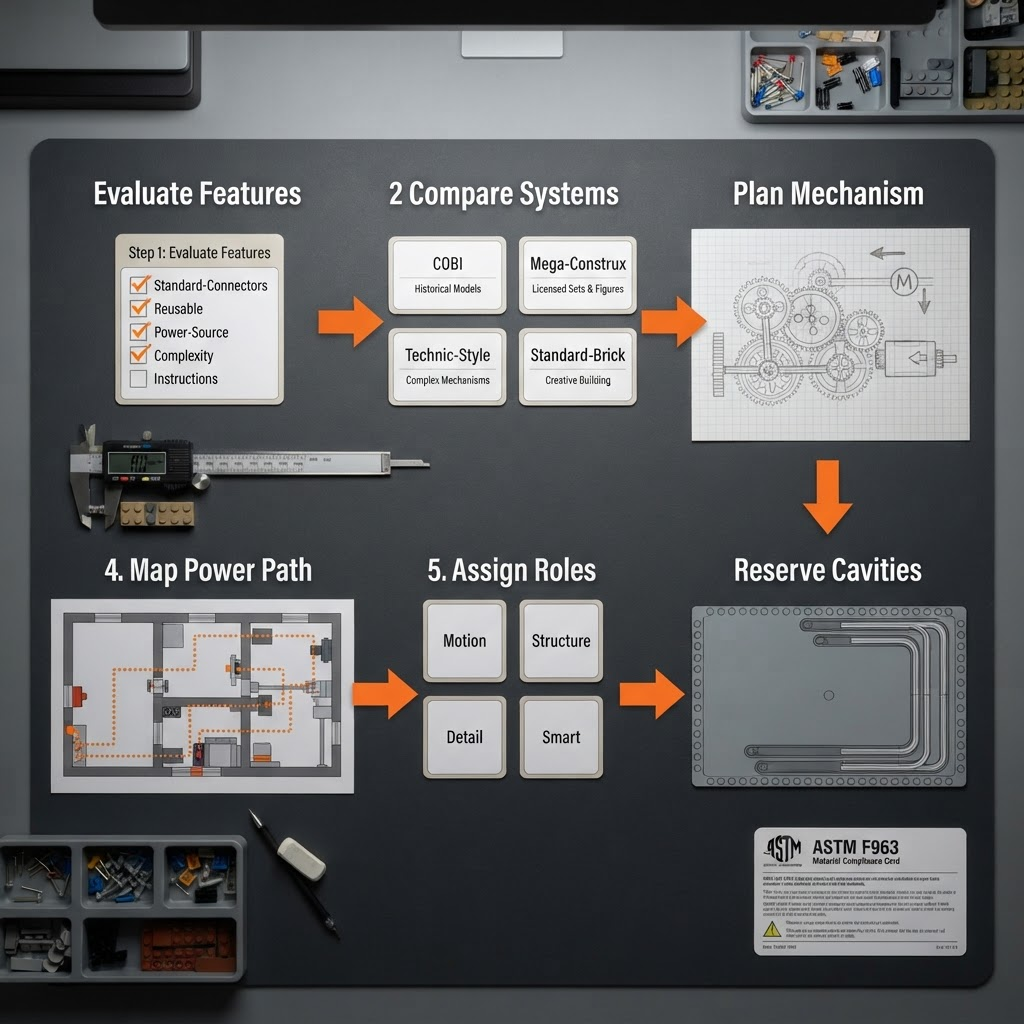
Step 3: Plan a Multi-Brand Smart Build
A smart build lives or dies at the planning stage. Skip straight to assembly and your motor will not line up with your gears. Start with the mechanism, not the shell — if your build moves, design the moving parts first.
Motion Layer
Technic-style pins, axles, and motors carry the mechanism.
Structure Layer
Standard bricks and plates form walls, floors, and frames.
Detail Layer
COBI printed parts and Mega figures add character and scale.
Smart Layer
Light kits and programmable bricks slot into reserved cavities.
Multi-brand planning checklist
- +Mechanism designed and tested before building the shell
- +Power path mapped with hidden wiring planned from the base
- +Each brand assigned a clear system role
- +Cavities reserved for light bricks and wire channels
- +Access point left open to reach the power switch
Step 4: Assemble for System Stability
Mixed-brand smart builds face stress that static models never see. Motors vibrate. Moving parts pull at joints. Build for that load.
Anchor the mechanism
A motor not locked down will shake loose and throw off the gears. Brace it against solid walls on at least two sides.
Isolate moving parts
Give gears and axles clearance so they do not rub against walls. Friction kills motors and drains batteries fast.
Tight-clutch bricks at stress points
COBI bricks earn their keep at corners near the motor — their tighter clutch holds firm under vibration.
Test at every stage
Run the motor after every major section. Catch a binding gear early, before you seal it inside a finished shell.
COBI at Stress Points
Because cobi lego compatible bricks clutch tighter than most standard bricks, they are ideal for corners and motor mounts in any mixed-brand smart build. Use them strategically at high-load joints.
Step 5: Maximize Educational Value
Smart builds are teaching tools. A moving model shows a child exactly how force, motion, and cause-and-effect work. Teach the mechanism, not just the model — before you seal a gear train, stop and show how one gear turns another.
| Age Range | Focus | Concepts Taught |
|---|---|---|
| Ages 6–9 | Simple gears and single motors | Cause and effect, basic motion |
| Ages 10–13 | Gear ratios, basic circuits, modular sections | Planning, ratios, electricity |
| Ages 14+ / Adults | Programmable parts, multi-mechanism builds | Drivetrains, custom design, systems thinking |
Use questions, not lectures. "What happens if we make this gear smaller?" beats a paragraph of explanation. Let the builder predict, test, and see the result. A lego system compatible smart play setup grows with the learner — the same parts that teach a nine-year-old about gears teach a teen about ratios and a maker about full drivetrains.
Step 6: Push Creative and Display Value
Smart features are also display features. A model that lights up or moves draws the eye at any show or shelf.
Design for the Wow Moment
Decide the one thing your build does that stops people — a rotating turntable, a lit interior, a lifting drawbridge. Build everything to serve that moment.
Hide the Tech
Route power through walls and floors so only the effect shows. Clean display builds keep wires, battery boxes, and motors completely out of sight.
Make It Reconfigurable
Design detachable modules so one smart chassis powers several different bodies. Swap a truck cab for a crane arm on the same motorized base.
Document each stage, note which brandsed which role, and share the reconfiguration options. Browse project inspiration through Morebybourn and post your finished smart build online to swap notes with builders across North America and Europe.
Common Mistakes to Avoid
Building the shell first
Design the mechanism before the structure or nothing will line up.
Ignoring the power path
Retrofitting wiring means tearing the model apart. Plan it from the base.
Mismatching Mega lines
Only Mega Construx follows the standard system. Older Mega Bloks and toddler blocks do not connect cleanly.
Loose motor mounts
A motor that is not braced shakes free and jams the gears.
No gear clearance
Parts that rub burn out motors and drain batteries fast.
Sealing before testing
Always run the mechanism before you close it inside a finished shell.
Buying gimmick features
A single-use effect is dead weight. Buy features you can reuse across builds.
Bringing It All Together
- ›Evaluate smart features for open connectors and reusable function before buying.
- ›COBI lego compatible bricks work for standard pieces and clutch tighter at stress points near motors.
- ›Are mega and lego compatible? Yes for Mega Construx — not for older Mega Bloks or toddler blocks.
- ›Design the mechanism first, assign each brand a system role, and map the power path before assembly.
- ›Build to survive motor vibration: brace mounts, clear gear paths, and test at every stage.
- ›Use the finished model to teach STEM concepts progressively from simple gears to programmable drivetrains.
Related Guides
Ready to Build Your Smart System?
Browse standard and smart-compatible bricks at Morebybourn, built to the 8mm stud standard for clean multi-brand integration.