How to Combine Light-Up, Large-Brick and Specialty Block Systems Into One Creative Build
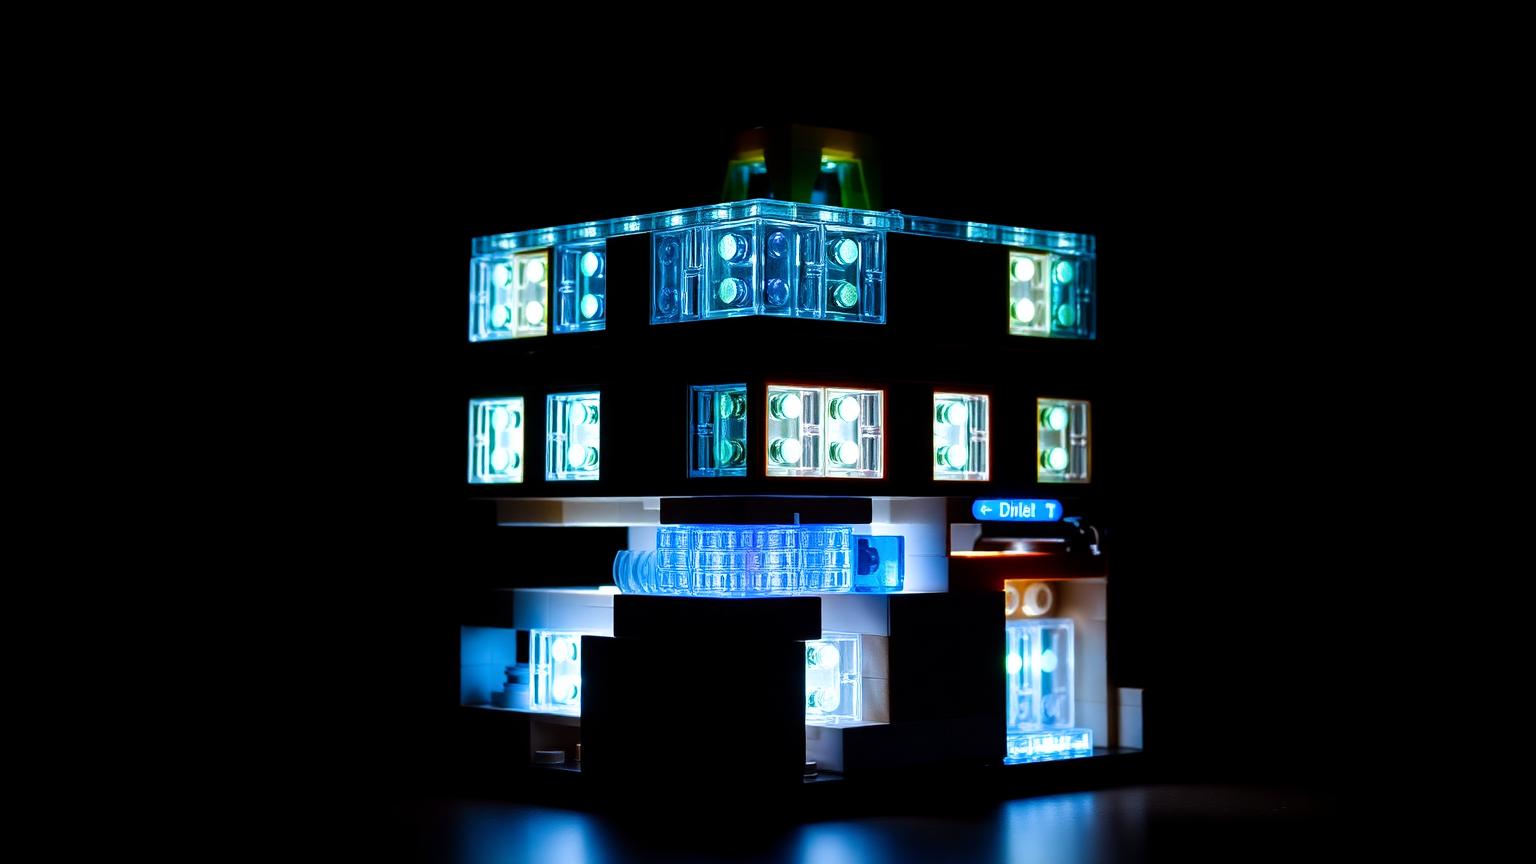
Mixing different building block systems opens up creative options that no single set can offer. Light-up bricks add drama. Large blocks speed up structure. Specialty pieces bring detail. The trick is making them work as one coherent model.
This guide shows you how to plan, connect and power a multi-system build that holds together and looks intentional — whether you are chasing a complex diorama, running a STEM project with your kids or designing something original.
Why Mix Block Systems at All?
One kit gives you one scale, one part library, one look. Large blocks rough out big structures fast. Standard-scale bricks handle fine detail. Light-up elements add mood. The key is compatibility: light up bricks compatible with LEGO and other standard systems connect through the same 8mm stud spacing, so they lock into existing parts without adapters.
Step 1: Plan Your Build Around Scale and Zones
- Bulk zones. Large surfaces, foundations and thick walls — large-brick territory.
- Detail zones. Windows, trim and small mechanisms — standard-brick territory.
- Feature zones. Signs, windows and focal points you want to glow — light-up territory.
Large blocks are typically double the dimensions of standard bricks. That two-to-one relationship helps: plan your transitions where the grids meet and the systems interlock instead of fighting each other. Our brick compatibility testing guide covers how to verify each system before you start.
Step 2: Master the Transition Points

- Build a bridging layer. Lay a flat plate across the top of your big-block section, then build standard detail on it.
- Test the seam first. Press a small test section flat and check for rocking — this matters most with LEGO compatible Mega Bloks, where any tilt is exaggerated as you build upward.
- Anchor at multiple points. Multi-point anchoring distributes stress and stops sections shearing apart when you lift the model.
Step 3: Plan Your Lighting Before You Build
Lighting is far easier to install during the build than after. Two main approaches exist: self-contained light bricks with a built-in LED and battery, and wired LED kits connected to a hidden battery pack or USB source. Beginners should start with self-contained bricks — they snap in like any other piece and need no wiring knowledge.
Map your light runs on the plan. For wired kits, reserve a hidden channel — a hollow column or a gap under the base — and route wiring toward a single access point so you can swap batteries without dismantling the model.
Step 4: Integrate Light-Up and Laser Systems
- Build your translucent feature zone first as a separate sub-module.
- Connect the light source at the base of that zone.
- Test the glow before sealing the module into the main model.
- Anchor the finished module at multiple points.
Because laser pegs compatible LEGO components use the same stud standard, they attach without adapters. Stack clear and coloured translucent bricks over the source to diffuse the glow, and build a removable hatch into the base so battery packs stay invisible but reachable.
Step 5: Build in the Right Order
- Foundation first: large-block base and bridging plates.
- Structure next: walls and major forms in the right system per zone.
- Wiring and light sources: install while sections are still open.
- Standard detailing: trim, mechanisms and surface detail.
- Glow features: fit translucent zones once power is confirmed.
- Fragile accents last: antennae, minifigures and delicate parts.
Common Mistakes to Avoid
- Mixing scales without a bridging layer. Always bridge with a flat plate.
- Installing lighting last. Retrofitting means tearing the model apart.
- Single-point transitions. One stud invites wobble and shearing.
- Ignoring battery access. Build a hatch before you seal the base.
- Overloading one bright LED. Diffuse it through layered translucent bricks.
Powering and Maintaining Your Build
- Manage battery life. Switch lights off when the model is not on display; USB-powered kits beat batteries for long-term displays.
- Protect the electronics. Keep illuminated models away from damp and heat, and dust with a soft brush only.
- Check seams periodically. Reseat loosened bricks rather than forcing them.
Get the Right Parts for Hybrid Building
Success comes down to standard-dimension parts that grip reliably across systems. Browse compatible bricks, plates and lighting-ready pieces in the Morebybourn product collection, and see more technique walkthroughs in the Lego Compatible Bricks hub.
Frequently Asked Questions
Are lego compatible mega bloks easy to combine with standard bricks?
Yes, with one caveat: scale. LEGO compatible Mega Bloks and similar large-format systems use the standard stud interface, so they connect directly to standard bricks. The difference is size — large blocks are roughly double the dimensions of standard bricks. Use a flat bridging plate at the transition point to absorb the scale change and anchor the seam at multiple studs for stability.
How do laser peg and light-based systems attach to my existing model?
Peg-based light systems built to standard dimensions attach through the same stud connections as your other bricks. Build the illuminated feature as a separate sub-module first, connect and test the light source at its base, then anchor the finished module into your main model at several points. Because they share the standard interface, no adapters are needed.
What's the simplest way to add lighting for a beginner?
Start with self-contained light bricks. These are light up bricks compatible with LEGO systems that hold an LED and battery inside a single brick, activated by pressure or a small switch. They snap in like any ordinary brick, so you skip wiring entirely. Once you are comfortable, move up to wired LED kits for more control over placement and brightness.
Will mixing brands weaken the structure of my model?
Not if you plan for it. The main risk points are the seams where two systems meet. Use your firmest-gripping pieces at these transitions, anchor at multiple studs rather than one, and bridge any scale change with a flat plate. Test each seam flat before building higher. Done this way, a hybrid model is just as sturdy as a single-system one.
How do I keep wiring and batteries hidden in a lit build?
Plan your power routes before you build. Run wiring through hollow columns or channels under the base, directing all cables toward one access point. Build a removable hatch so you can swap batteries without dismantling the model. Then diffuse each light through one or two layers of translucent brick to hide the LED while keeping the glow visible.
Order LEGO-Compatible Sets from Morebybourn
We sell LEGO alternative sets, compatible bricks and lighting-ready pieces built to the same universal standard. If you would like help planning a hybrid or illuminated build, simply contact our customer service team and we will place the order for you.